ngrx 是 Angular框架的状态容器,提供可预测化的状态管理。
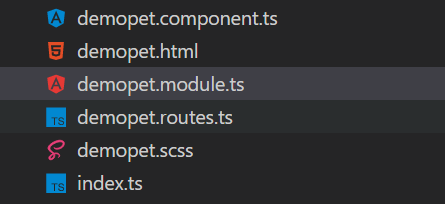
1.首先创建一个可路由访问的模块 这里命名为:DemopetModule。
包括文件:demopet.html、demopet.scss、demopet.component.ts、demopet.routes.ts、demopet.module.ts
代码如下:
demopet.html
<!--暂时放一个标签-->
<h1>Demo</h1>
demopet.scss
demopet.component.ts
import { Component} from '@angular/core';

@Component({
  selector: 'demo-pet',
  styleUrls: ['./demopet.scss'],
  templateUrl: './demopet.html'
})
export class DemoPetComponent {
    //nothing now...
}
demopet.routes.ts
import { DemoPetComponent } from './demopet.component';

export const routes = [
  {
    path: '', pathMatch: 'full', children: [
      { path: '', component: DemoPetComponent }
    ]
  }
];
demopet.module.ts
import { CommonModule } from '@angular/common';
import { FormsModule } from '@angular/forms';
import { NgModule } from '@angular/core';
import { RouterModule } from '@angular/router';
import { routes } from './demopet.routes';

@NgModule({
  declarations: [
    DemoPetComponent,
  ],
  imports: [
    CommonModule,
    FormsModule,
    RouterModule.forChild(routes)
  ],
  providers: [
  ]
})
export class DemoPetModule {


}
整体代码结构如下:
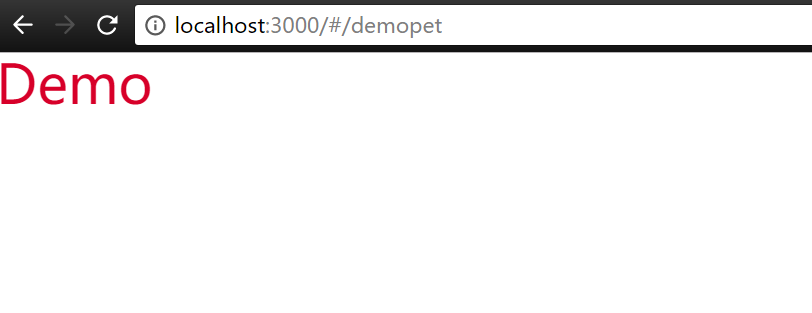
运行效果如下:只是为了学习方便,能够有个运行的模块
2.安装ngrx
npm install @ngrx/core --save
npm install @ngrx/store --save
npm install @ngrx/effects --save
@ngrx/store是一个旨在提高写性能的控制状态的容器
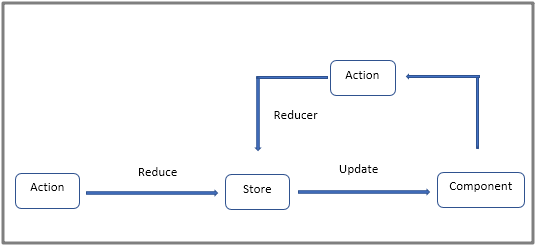
3.使用ngrx
首先了解下单向数据流形式
代码如下:
pet-tag.actions.ts
import { Injectable } from '@angular/core';
import { Action } from '@ngrx/store';

@Injectable()
export class PettagActions{
    static LOAD_DATA='Load Data';
    loadData():Action{
        return {
            type:PettagActions.LOAD_DATA
        };
    }

    static LOAD_DATA_SUCCESS='Load Data Success';
    loadDtaSuccess(data):Action{
        return {
            type:PettagActions.LOAD_DATA_SUCCESS,
            payload:data
        };
    }


    static LOAD_INFO='Load Info';
    loadInfo():Action{
        return {
            type:PettagActions.LOAD_INFO
        };
    }

    static LOAD_INFO_SUCCESS='Load Info Success';
    loadInfoSuccess(data):Action{
        return {
            type:PettagActions.LOAD_INFO_SUCCESS,
            payload:data
        };
    }
}
pet-tag.reducer.ts
import { Action } from '@ngrx/store';
import { Observable } from 'rxjs/Observable';
import { PettagActions } from '../action/pet-tag.actions';

export function petTagReducer(state:any,action:Action){
    switch(action.type){

        case PettagActions.LOAD_DATA_SUCCESS:{

            return action.payload;
        }

        // case PettagActions.LOAD_INFO_SUCCESS:{

        //     return action.payload;
        // }

        default:{

            return state;
        }
    }
}

export function infoReducer(state:any,action:Action){
    switch(action.type){

        case PettagActions.LOAD_INFO_SUCCESS:{

            return action.payload;
        }

        default:{

            return state;
        }
    }
}
NOTE:Action中定义了我们期望状态如何发生改变 Reducer实现了状态具体如何改变
Action与Store之间添加ngrx/Effect 实现action异步请求与store处理结果间的解耦
pet-tag.effect.ts
import { Injectable } from '@angular/core';
import { Effect,Actions } from '@ngrx/effects';
import { PettagActions } from '../action/pet-tag.actions';
import { PettagService }  from '../service/pet-tag.service';

@Injectable()
export class PettagEffect {

    constructor(
        private action$:Actions,
        private pettagAction:PettagAction